ER Shadow of the Erdtree Belurat, Tower Settlement walkthrough
Belurat, Tower Settlement is a confusing nightmare full of ambushes, secret side paths and horrible monsters - here's how to make it out alive!
Belurat, Tower Settlement is less an introduction to Elden Ring’s Shadow of the Erdtree DLC and more a baptism of fire.
Belurat is a confusing maze of interconnected tunnels, walkways and corridors, riddled with ambushes, invasions and powerful foes around almost every corner. Stuffed as it is with cheap, trial-and-error trickery, spell-slinging snipers and well-hidden side paths, Belurat feels less like Elden Ring and more like an area from the earlier days of FromSoftware’s back catalogue. It could easily be from Demon’s Souls or part of the Undead Burg in the original Dark Souls.
That comparison will be music to the ears of long-time series regulars, but if you’ve got this far in Elden Ring relying on Spirit Ash summons and overpowered builds be warned, nothing will save you if you’re unprepared for some of what’s to come. Prepare to die… again.
Belurat, Tower Settlement Walkthrough
From the Three-paths Cross Site of Grace, wave your goodbyes to Redmane Freyja and the Hornsent before riding westwards up the hill to your left.
Ignore the shadows lining the ancient staircase and make your way to the Main Gate Cross and Site of Grace in front of you, where two more NPCs wait. The first is Ansbach, a former devotee of Mohg, and Moore, a merchant.
When their dialogue’s been exhausted, steel yourself and head up the giant staircase towards the first legacy dungeon in Elden Ring’s Shadow of the Erdtree DLC, Belurat, Tower Settlement.
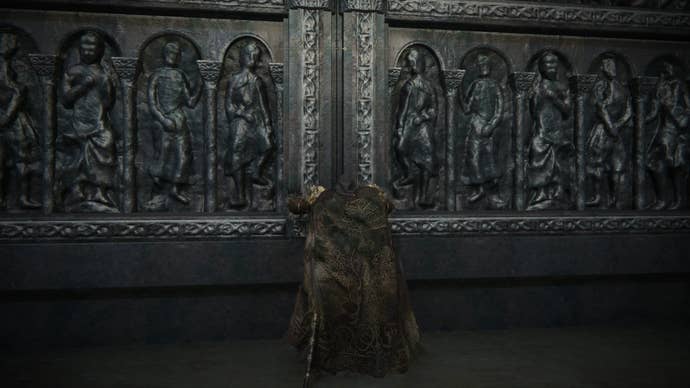
Heave the massive door open and take your first few tentative steps inside the foreboding entrance way. I don’t want to spoil what happens next, but continue up the stairs and be aware that combat is imminent. While it’s scary, you should be able to brute force your way through - it takes more damage from regular strikes than you might think.
As you enter the next room, press in the right stick to lock-on and you’ll notice more enemies suspended from the ceiling. Step forward gingerly and you can tease them onto the ground one by one, but when you engage your first several more will appear from the behind the altar in the middle of the room.
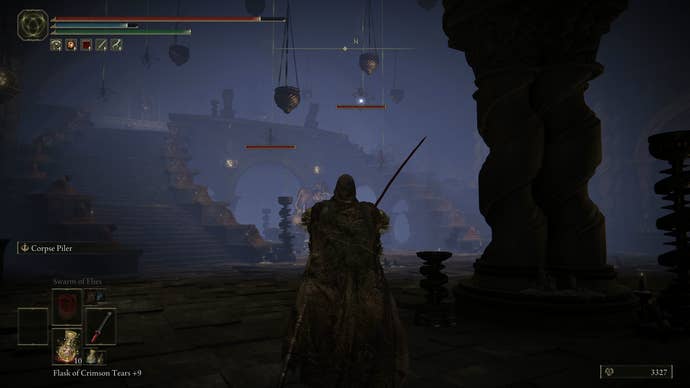
Now’s the time to deploy any AoE Ashes of War, spells or incantations you have at your disposal. But if you’re stuck with melee, try to take on the enemies one at a time, finishing each one off before you move on to the next - otherwise you’ll get overwhelmed.
Grab the item from the statue in the middle of the room and it’s a doozie: a Revered Spirit Ash Blessing. These can be traded in at Sites of Grace to improve the power of your Spirit Ash summons inside the Shadow Realm, and you’re going to need the help.
When you’re ready, make your way up the stairs and you’ll meet another of your large friends from earlier. Deal with them in the same way, making the most of the fact you have the element of surprise this time, not the other way around.
On the other side is another long staircase, which goes exactly like the last one: be ready for another big boy.
At the top you reach Belurat, Tower Settlement proper and catch sight of a little respite in the form of the Belurat, Tower Settlement Site of Grace.
Belurat Site of Grace
Trade in your first Revered Spirit Ash, then set off to the right, ignoring the carved door for now (you’ll unlock it as a shortcut back here later).
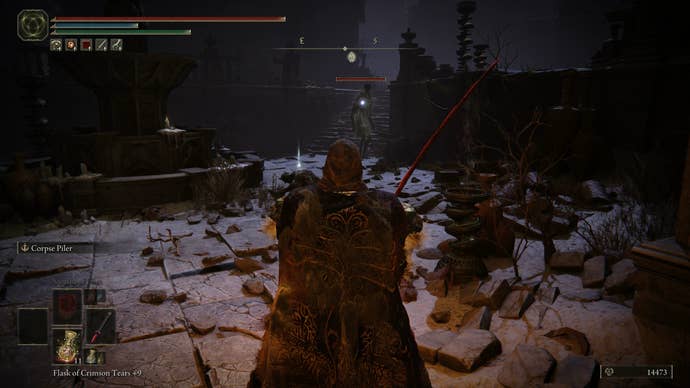
In front of you there’s a fountain surrounded by phantoms. Most of them are benign, but look to your right and there’s an ominously tall fellow who’s slightly different to everyone else. He’s really tough, with a strong moveset and a lot of Poise (the stat in Elden Ring that determines how many hits you can take before your attack is interrupted).
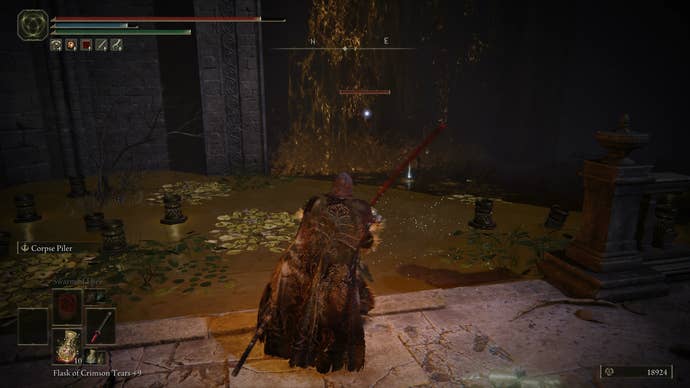
Either sprint over to him and get a quick hit in, or tease him over and wait for him to swipe and stop attacking before starting a combo of your own. You can then clear out the other shadows if you want for some extra Runes, then look over to the left. Lock-on and in the waterfall you’ll see another big shadow guy hiding in the waterfall to ambush you. Tease him out by walking in close then retreating when you see him start running, then dispatch him as you did the last guy. Grab the item he was hoarding then press on.
Up the stairs you come out on a long street. To the right there’s a well with a ladder you can climb down, which is tempting but you don’t yet have the key to open the door down there so leave it be. Instead, set off left and you’ll see a lovely couple promenading down the street.
Draw their attention with a ranged attack if you can, then use the whole length of the street to deal with them, without going too far up the far end of the street. This is because as you continue forward two snipers will start firing fast and powerful spells which home in on your character from a balcony above.
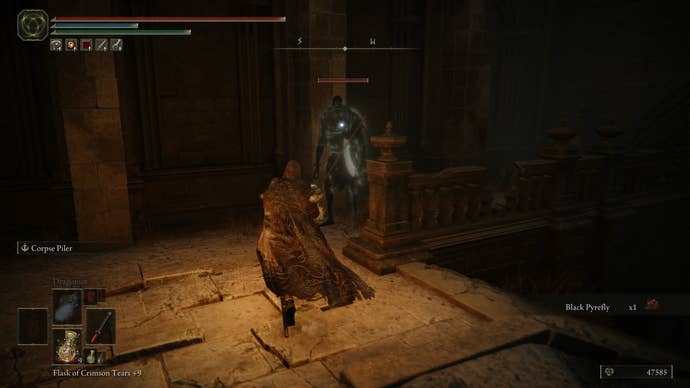
Take a quick detour into the side-street on your right for some cool Messmerfire Grease, defeating another Laurel and Hardy big-man, little-man duo as you do. Then sprint underneath the balcony to shelter from the spells, but be ready for yet another odd couple to deal with. Try to take them out within this smaller area, because when you go up the hill on the other side you’ll find another big man waiting to ambush you over your right shoulder.
Face up to him first and use the room afforded to you back down the hill because another big guy will rush you from the back wall. Focus on them one at a time, because if you split the damage you can find yourself overwhelmed.
At the top of the street go left into the house, then up the stairs on the left you find your second Site of Grace!
Small Private Altar Site of Grace
From the Small Private Altar, walk forward into the next you and there are two paths forward. On the left is the balcony where the two Chuckle Brothers were casting spells at you earlier. There’s nothing for you there right now, but you need to remember where it is - you use the Storeroom key there when you get it soon.
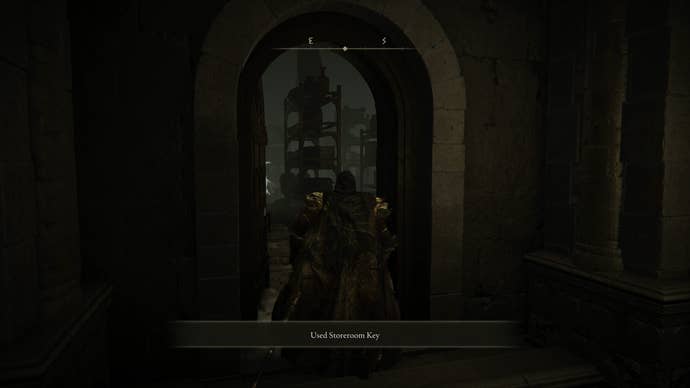
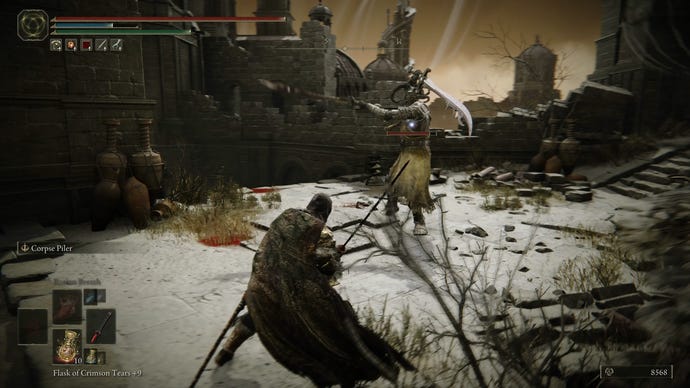
Upstairs on the right is where the real bad times begin. Wandering back and forth is a dual sword-wielding Horned Knight, a ridiculously tough regular enemy with incredible power, poise and aggression.
This is where you decide what kind of Elden Ring player you are. Do you want to front up and face the Horned Knight head on? Or do you want to sprint past him to the next area?
Congratulations on choosing the correct answer: bravely run past the very strong man so he doesn’t hurt you.
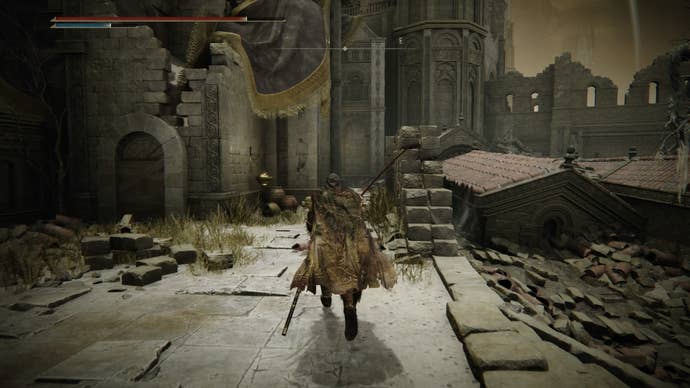
To do this, go to the top of the stairs and turn left at the Horned Knight, then go up the stairs in front of you and turn right at the top.
Go down the narrow path, then turn left, but be aware of the guy waiting to jump out on you on the right. Defeat these two weak foes and approach the flowing water but stop before you get there.
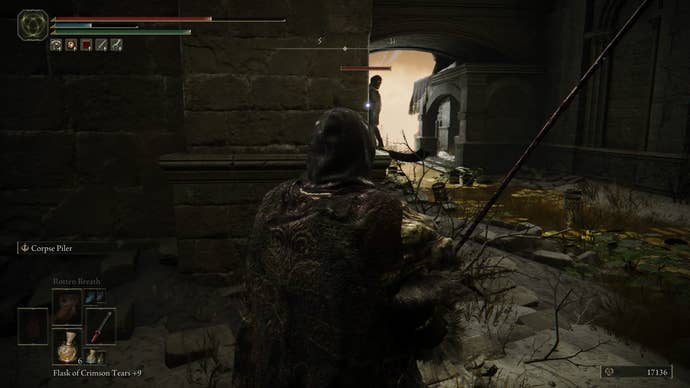
You can see a big shadow man enjoying some alone time on the ground on the other side, or so it seems. Immediately on the left around that corner is another big shadow guy waiting to ambush you, so inch around that corner to trigger his attention, then lead him back down that passage to even the odds. Alternatively you can trigger the guy sitting down with a ranged attack and do them in the opposite order.
In the water, there’s yet another guy waiting to gank you on the right as well as a bigger guy contemplating the Scadutree on the edge of the waterfall. With them down, head inside the door on the other side of the stream and climb up the ladder.
Here you find the storeroom key, which, remember you use on the balcony just after the Small Private Altar Site of Grace.
Outside, go immediately to your left and jump on the roof to turn back on yourself. Hop over to the balcony at the end, then defeat the two shadows inside the house. Here you can grab the Well Depths key, which unlocks the door inside the well you passed earlier on.
Return to where you jumped onto the roof and go up the stairs instead. At the top, go left, then left again down the stairs and then down the elevator. At the bottom you can open the door to unlock a shortcut back to the Belurat Site of Grace - a lovely time to replenish your supplies.
Completing Belurat, Tower Settlement
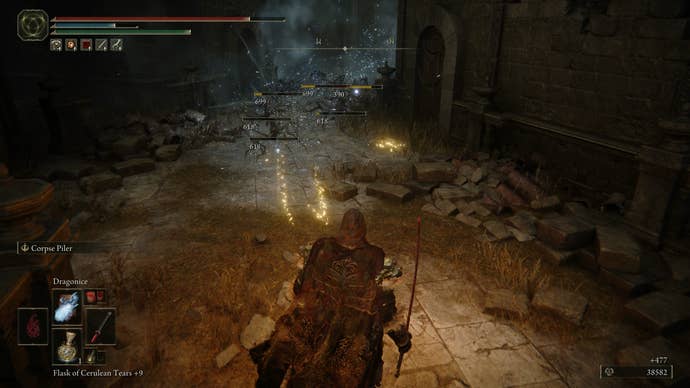
Return to the top of the stairs before the elevator and a terrible sight awaits. On your left a scuttling pack of spider scorpions rush at you, and it’s best to deal with them using AoE if you have it.
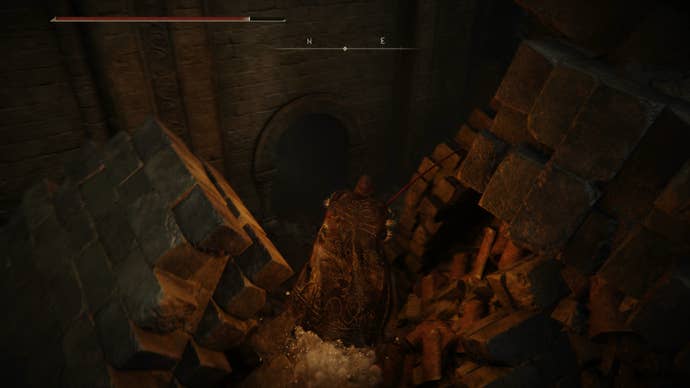
Next, look at the piled rubble next to where you fought the scorpions. Hop over and there’s a door on the other side. Be wary of the door, where a jump scare awaits, then rush down the enemy. Step gingerly into the room and three more will descend from the ceiling.
Now’s a great time to whip out a wide-ranging or AoE Ash of War or spell, otherwise try and focus on taking out an individual fly-man to take him out of the encounter, rather than letting all three wail away on you.
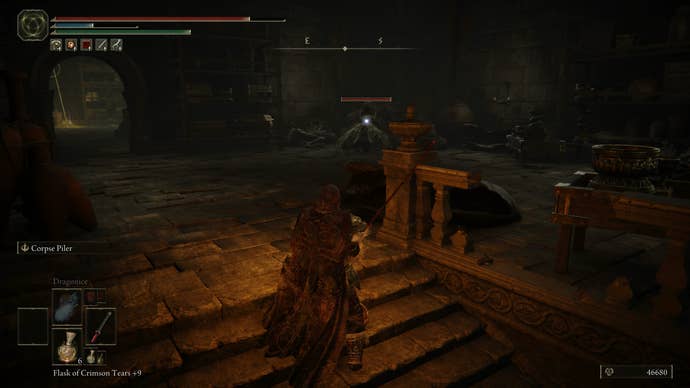
On the other side of the room, another fly-man is having a lovely time ignoring everything else going on around them. Take them out, then press on to the next room, where you find a Cross of Miquella and a Scadutree Fragment - your reward for this detour.
Outside, look to the left for a talisman, then peep out over the balcony to the fetid sewer channel below. The spitting enemies will deal a massive amount of damage and poison you very quickly. Use the scenery to your advantage and block their line of sight. Drop down and systematically take out each man-fly - they don’t mind, I think they want you to end it all, really.
Turn back on yourself and head down the channel, paying attention to the two man-flies hiding under the arch to your right. Two more will flutter down from the bridge ready for action, but you know what to do: rush them down one at a time.
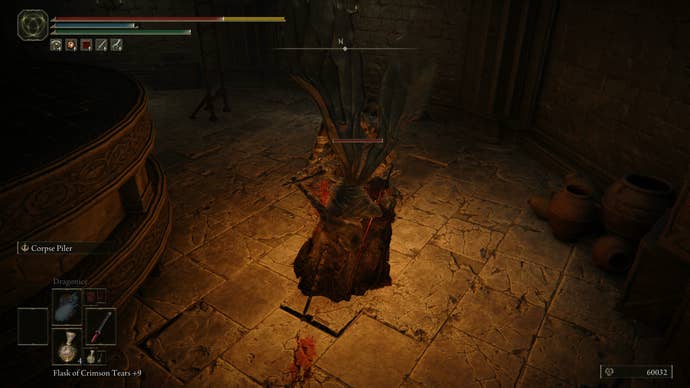
Through the door at the end of the channel, walk up the stairs to the right of the spout but be ready for an ambush as a man-fly waits behind it. Climb the ladder and there’s a really annoying encounter waiting for you at the top.
One big shadow guy sits waiting for you, while another hides over your left shoulder. Really, it’s better to just sprint out of the door in front of you and leave them to play dominoes.
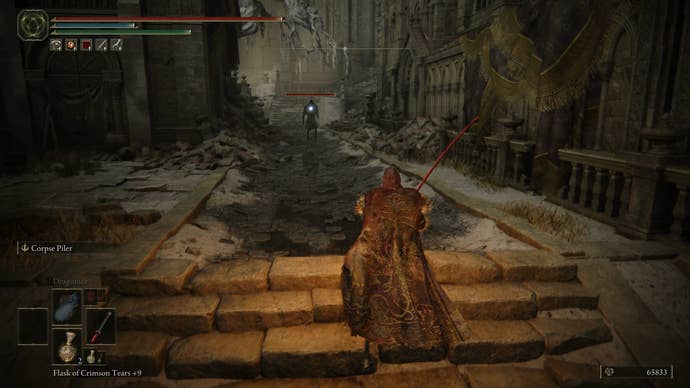
Outside, give the path to the left a wide berth because there’s one of the Horned Knights wandering around who you do not want to mess with. Instead run straight forward and lead the big shadow guy further down the path so you’ve got room to deal with him without getting the knight’s attention.
At the altar with the worshipping statues, run in and grab the item, a well-received Revered Spirit Ash, then high-tail it off towards the tower further down the path.
This is one last test before you reach the “end” of Belurat, and it’s a pretty big one - that’s why I’m warning you now.
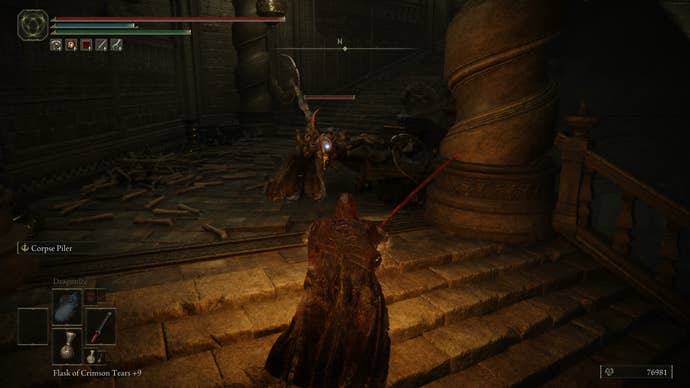
About halfway up the stairs in this tower is a Horned Dancer, a fast and powerful enemy who it’s really easy to panic against. If you’re ready for their intimidating appearance, you can keep a cooler head and realise that they leave themselves wide open for ages at the end of their lengthy combos.
Roll through their attacks as cleanly as possible and retaliate when you can, slapping out your most overpowered Ashes of War when you can. Don’t run away too far, or they’ll tag you with throwing knives.
If you’re really struggling, you can always just run past them, up the stairs and into the waiting arms of the Stagefront Site of Grace, which is where you find the boss of Belurat! No spoilers, but there's a link on that last sentence for a strategy guide if you end up needing it.
After you’ve defeated the boss, there are still a couple of things left for you to enjoy/suffer through.
If you’ve not used the Storeroom key, head back to the Small Private Altar Site of Grace and take the left-hand path along the balcony to meet the Hornsent Grandam.
Also from the Small Private Altar Site of Grace, go up the stairs to the Horned Knight and sprint right, past the small shadows and down the stairs to the rotunda.
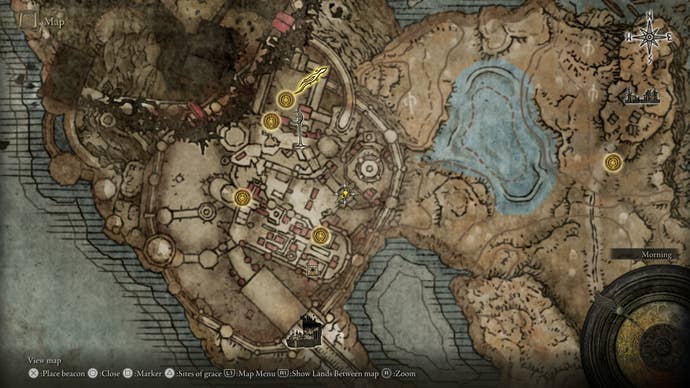
Here you’ll face the invader Fire Knight Queelign, whose quest we have a full page on!
You can then also return to the well ladder that you walked past near the Belurat Site of Grace and investigate the poison swamp through the gate there. On the left-hand side of the swamp is a tree spirit boss who drops a good poison amulet, while on the right-hand side you find another Horned Knight who drops a unique sword and another unique poison weapon mired in the swamp.
After this, your next destination is Castle Ensis over to the east.
- Back to Shadow of the Erdtree Walkthrough Main Page
- Belurat, Tower Settlement Walkthrough
- Castle Ensis Walkthrough
- Dragon’s Pit Walkthrough
- Black Keep Church District Walkthrough
- Specimen Storehouse Walkthrough
- Abyssal Woods Walkthrough
- Ancient Ruins of Rauh Walkthrough
